


Exhaust Gasket Replace in Plano, TX
This page explains exhaust gasket replacement in Plano, TX. It covers why gaskets fail from heat cycles, the symptoms drivers notice (ticking or loud noise, odor, reduced performance, leaks, CEL, vibrations), and the diagnostic steps technicians use (visual checks, listening with tools, smoke tests, backpressure and sensor checks, and digital records). It then describes the standard replacement process, notes OEM vs aftermarket gasket options, typical labor times, warranty and aftercare guidance, and how to request a precise quote for your vehicle.
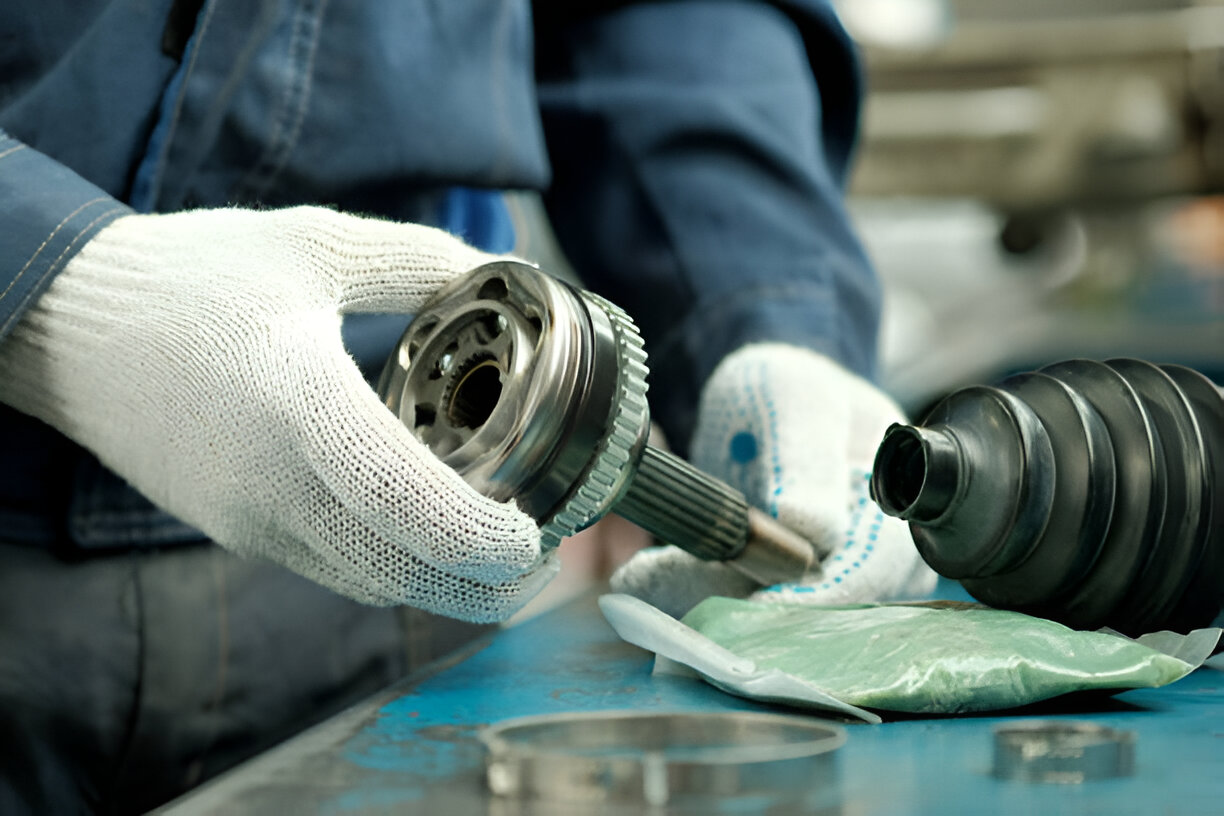
Exhaust Gasket Replace in Plano, TX
An exhaust gasket seals the joints between exhaust components so combustion gases flow through the system where they’re designed to — not into the engine bay or passenger area. A failed gasket creates noise, odors, and performance issues that affect drivability and safety. If you’re searching for “Exhaust Gasket Replace in Plano, TX” you likely want a reliable, practical explanation of symptoms, the diagnostic path a technician will take, and what replacement involves so you can make an informed decision.
Why this matters for Plano drivers
Plano’s hot summers and frequent temperature swings put extra stress on exhaust components. Heat cycling causes metal parts to expand and contract, accelerating gasket wear and loosening bolts. Local commuting patterns — a mix of stop-and-go neighborhoods and highway runs into the Dallas area — can also lead to quicker deterioration of exhaust manifold and flange gaskets. Addressing exhaust gasket issues promptly keeps fuel economy, engine performance, and cabin safety at expected levels.
Common exhaust gasket failure symptoms
Watch for these signs. They’re the most common reasons drivers search for “common exhaust gasket issues in Plano, TX”:
- Ticking or loud exhaust noise at cold start or under acceleration — usually from a manifold or flange leak.
- Strong exhaust odor in or around the vehicle, especially in the engine bay or near doors.
- Reduced engine performance or decreased fuel economy due to altered backpressure.
- Exhaust soot or visible leaks at gasket joints.
- Check Engine Light triggered by oxygen sensor readings or misfires related to exhaust leaks.
- Vibrations or rattles that change with engine load or RPM.
Inspection and diagnostic steps technicians use
Technicians follow systematic checks to confirm a gasket leak and locate it precisely:
- Visual inspection of manifold/pipe connections for soot, rusted flanges, or missing hardware.
- Audible inspection with the engine running (coarse listening) and with tools such as a mechanic’s stethoscope or electronic listening device to pinpoint the leak.
- Smoke or pressure test to reveal leaks sealed by the gasket only when pressurized.
- Backpressure and sensor checks to evaluate whether exhaust leaks have affected O2 sensors or engine performance.
- Digital vehicle inspection including photos and notes of affected areas for transparent documentation.
These steps help differentiate a simple gasket failure from related problems such as cracked manifolds, broken studs, or failed sensors.
Step-by-step replacement process (what to expect)
While exact steps vary by vehicle, a standard exhaust gasket replacement typically follows this sequence:
- Vehicle preparation — raise and secure the car, disconnect battery if needed for safety.
- Access the joint — remove heat shields, catalytic converter/downpipe or other components as needed to reach the gasket.
- Remove old gasket and hardware — carefully unbolt the flange or manifold, noting bolt condition and orientation.
- Inspect mating surfaces — clean and inspect exhaust flanges and manifold faces for warping, cracks, or heavy corrosion.
- Replace hardware if required — corroded bolts, studs, or nuts are commonly replaced to ensure a secure seal.
- Install new gasket — position the chosen gasket and torque fasteners to manufacturer specifications (proper torque prevents leaks and damaged gaskets).
- Reassemble components — reinstall any removed parts and heat shields.
- Functional test — run the engine, listen for leaks, and verify no error codes or abnormal exhaust readings.
- Road test — verify the repair under normal driving conditions and recheck torque after a short drive if recommended.
Technicians will follow manufacturer torque specs and replacement protocols to ensure a long-lasting seal.
Parts and materials: OEM vs aftermarket
Choosing the right gasket matters for durability and fit:
- OEM gaskets are made to factory specifications and typically provide a precise fit and proven materials. They’re often recommended for newer vehicles or when maintaining factory-level performance is a priority.
- Aftermarket gaskets can offer cost savings and options like multi-layer steel (MLS), copper, or composite materials. Quality varies by brand; reputable aftermarket parts can equal OEM performance at a lower price.
- Associated parts: damaged studs, bolts, or warped flanges should be replaced or resurfaced. High-temp anti-seize on fasteners and replacement of exhaust bolts are common practices.
Ask for material specifics (MLS, copper, graphited, coated) and whether the replacement includes new hardware.
Estimated labor time
Typical labor time depends on location of the gasket and vehicle design:
- Simple flange or pipe gasket: often under 1 hour.
- Exhaust manifold gasket: commonly 1–3 hours due to heat shield removal and bolt access.
- Complex cases (manifold removal, rusted studs, or additional exhaust component replacement) can take longer.
The exact time for your vehicle will vary by make, model, and condition.
Warranty and aftercare recommendations
- Warranty: Many shops offer limited warranties covering parts and labor for a set period. When choosing parts, ask specifically about the warranty on the gasket and associated labor.
- Aftercare: Recheck for leaks after initial heat cycles (commonly within the first 50–200 miles). Inspect fasteners and surrounding components during regular maintenance. Avoid extended idling in driveways where exhaust fumes can accumulate near the vehicle.
Because Plano’s temperature swings can affect fastener tightness, re-inspection after a short break-in period helps ensure lasting performance.
How to request a quote or prepare for service
When requesting an estimate or comparing shops, provide the following for an accurate quote:
- Vehicle year, make, model, and engine size (VIN when possible).
- A description of symptoms (noise, smell, engine light) and when they occur.
- Photos of the underside or engine bay if available.
- Ask whether the estimate includes replacement hardware, torque to spec, and warranty details.
A clear description and vehicle details allow shops to identify whether a simple gasket replacement will suffice or if additional repairs are likely.
Exhaust gasket problems are common and usually straightforward to fix when diagnosed properly. For Plano drivers, addressing leaks promptly protects performance, fuel economy, and cabin safety while avoiding more extensive repairs later on.
Customer Testimonials
Service Areas
