Demystifying Electrical Issues: A Beginner's Guide to Troubleshooting

Why Understanding Electrical Troubleshooting Matters
Electrical troubleshooting is the systematic process of identifying and fixing problems in your vehicle's electrical system. Instead of randomly replacing parts, it's about following a logical approach to find the real cause of the problem.
When your car won't start or your dashboard lights flicker, these "electrical gremlins" don't have to leave you stranded. Most electrical problems follow predictable patterns, and understanding the basics can help you identify the issue quickly.
The difference between guessing and troubleshooting is huge. Replacing the wrong component is a major cause of repeat repairs in the automotive industry. A systematic approach saves time, money, and frustration by focusing on these key steps:
- Gather information about the symptoms.
- Perform a visual inspection for obvious damage.
- Test systematically with the right tools.
- Find the root cause, not just the symptom.
- Verify the repair to ensure it's fixed correctly.
Safety comes first. Electrical systems can be dangerous without proper precautions. We'll cover essential safety steps before diving into any diagnostic work.

Safety First: Your Pre-Troubleshooting Checklist
![IMAGE of a person wearing safety glasses and insulated gloves while working near a car battery]
Before starting any electrical troubleshooting, your safety is the top priority. While most car systems are 12-volt, dangers like high-voltage ignition systems and hybrid batteries (200-600+ volts) demand respect.
- Disconnect the Battery: This is your first step for most electrical work. Always remove the negative terminal first to prevent accidental sparks if a tool touches the frame.
- Use Personal Protective Equipment (PPE): Safety glasses protect your eyes from sparks and debris. Insulated gloves provide a barrier against live circuits.
- Choose Insulated Tools: Tools with rubber-coated handles are designed to protect you from shock if you accidentally touch an energized component.
- Beware of High-Voltage Systems: Hybrids and EVs contain lethal voltages. This work requires specialized training and equipment and is best left to professionals.
- Know Your Voltages: Never assume a circuit is dead. Some systems, like ignition coils, generate thousands of volts, and certain circuits remain powered even with the key off.
- Work Safely: Always work on dry surfaces with dry hands. Ensure the battery remains disconnected while you work to prevent accidental reconnection.
If you feel uncertain about an electrical issue, trust your instinct and call a professional. At Marlow Automotive, our certified technicians have the training and tools to handle automotive electrical problems safely. More info about auto electrical services
Gearing Up: The Troubleshooter's Toolkit
Effective electrical troubleshooting requires the right tools. You don't need a full professional setup, but a few essentials will solve most common problems.
Essential Tools for a Beginner's Kit:
- Digital Multimeter (DMM): Your most important tool for measuring voltage, resistance, and current.
- Test Light: A simple tool for quickly checking if power is present.
- Power Probe: A versatile tester that can also supply power or ground to test components directly.
- Wire Strippers/Crimpers: For repairing or replacing damaged wires and terminals.
- Backprobe Pins: Allow you to test sealed connectors without damaging them.
- Circuit Tracers: Help identify specific wires in a large bundle.
- Jumper Wires: Used to temporarily bypass components for testing.
How to Effectively Use a Multimeter
Mastering your multimeter is the key to electrical troubleshooting. Here are the basic functions:
- Voltage (V DC): Use the DC Voltage setting to check for power. A healthy battery is about 12.6V (engine off) and 13.5-14.5V (engine running).
- Resistance (Ω): Measures the resistance in a component or wire. Crucially, only test resistance on circuits with no power to avoid damaging your meter.
- Continuity (Beep Mode): A special resistance test. The meter beeps if there is a complete electrical path, indicating no breaks in the circuit. An "OL" (Open Line) reading means there's a break.
- Amperage (Amps): Measures current flow. This test is more advanced, as the meter must be placed in series with the circuit. Incorrect use can blow the meter's fuse. For high currents, a clamp-on meter is a safer alternative.
To avoid blown meter fuses, always double-check that your meter is on the correct setting and the leads are in the right jacks before testing.
The Systematic Approach to Electrical Troubleshooting
Effective electrical troubleshooting is a logical, step-by-step process, not guesswork. Following a methodical approach saves time, prevents misdiagnosis, and helps you avoid replacing perfectly good parts. Let's walk through the steps.
Step 1: Understand the System & Gather Information
Before picking up a tool, gather clues. The more information you have, the faster you'll solve the mystery. Ask yourself:
- When did the problem start? Was it sudden or gradual?
- Is it constant or intermittent? Does it happen under specific conditions (e.g., when it rains, hitting bumps)?
- What changed recently? Were any repairs or modifications made?
- Are other systems affected? Multiple issues could point to a central power or ground problem.
Understand how the system should work by consulting your owner's or service manual. Always start with the simplest causes first (the "horses not zebras" principle). Check all relevant fuses first, but remember: a blown fuse is a symptom. You must find out why it blew.
Step 2: The Visual & Sensory Inspection
Many electrical problems can be found just by looking, listening, and smelling. This simple step often leads directly to the culprit.

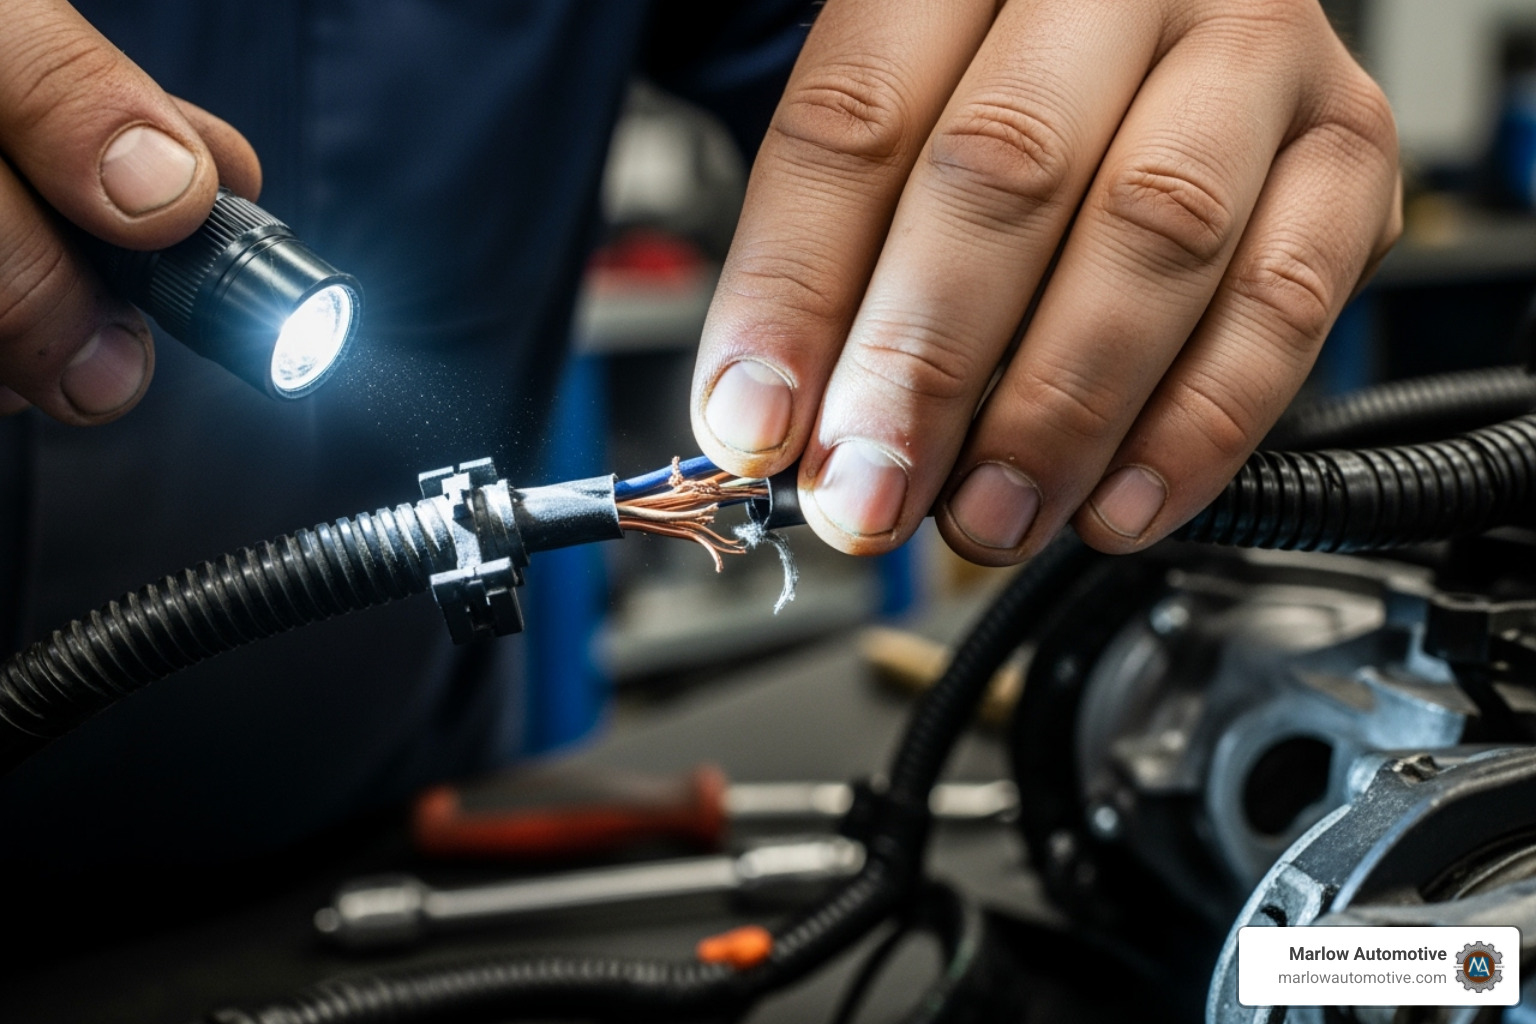
- Look for frayed wires, loose terminals, and melted plastic connectors.
- Smell for burning or acrid odors, which indicate overheating components.
- Listen for unusual buzzing or clicking from relays or the fuse box.
- Feel for loose connections (with the power off).
- Check for corrosion, the green or white crusty buildup that is a primary cause of electrical failure. Pay close attention to battery terminals and ground connections, as bad grounds cause many strange, seemingly unrelated issues.
Step 3: Consult the Blueprint: Reading a Wiring Diagram
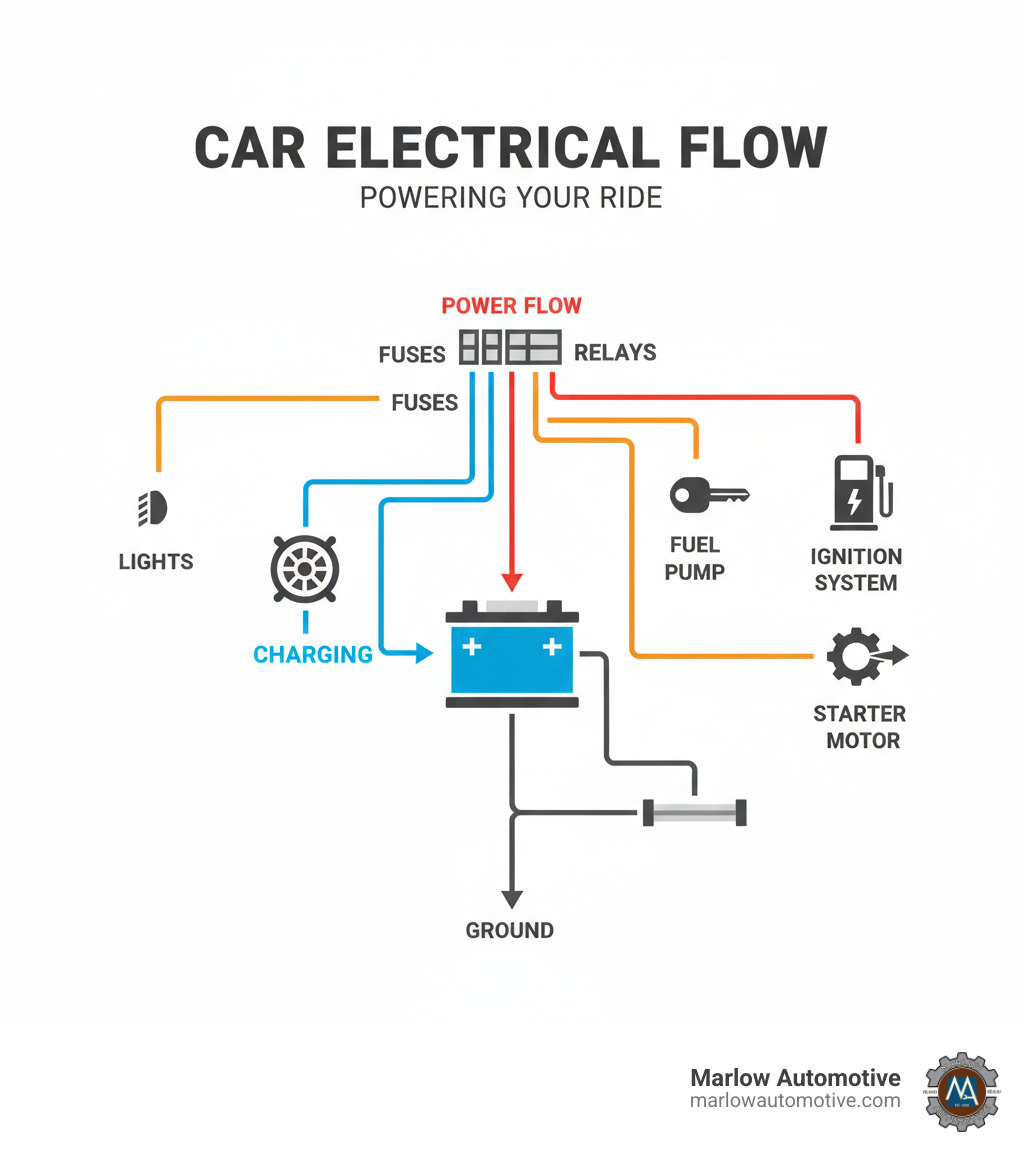
Wiring diagrams are roadmaps of your car's electrical system. They help you isolate the problem area and see how components are connected. Trace the electrical path from the power source, through switches and fuses, to the component, and back to ground. A pro tip is to print the diagram and use a highlighter to trace the circuit you're testing. This makes complex diagrams much easier to follow.
For a more detailed framework, you can review a guide to the 7-Step Electrical Troubleshooting Methodology.
Step 4: A Deeper Dive into Electrical Troubleshooting Techniques
These hands-on tests will help you pinpoint the failure.
- The Hopscotch Method: To find an open circuit (a break), start at the power source and test for voltage at each connection point along the circuit. The spot where voltage disappears is where your break is.
- Voltage Drop Testing: This crucial test checks for unwanted resistance. With the circuit operating, test the voltage across connections and wires. A drop of more than 0.1-0.2 volts indicates a problem like corrosion or a loose connection.
- Wiggle Test: For intermittent problems, gently wiggle wiring harnesses and connectors while monitoring the circuit. If the problem appears, you've found the location of the loose connection or damaged wire.
- Divide and Conquer: To find a short circuit that blows fuses, disconnect parts of the circuit one by one until the short disappears. A trick is to replace the fuse with a headlight bulb; it will light up if a short is present, limiting current and preventing damage while you search.
Step 5: Identify the Root Cause, Repair, and Verify
Once you've found the problem, your work isn't done.
- Find the Root Cause: Don't just fix the symptom. If a fuse blew, find out if it was from a short, an overloaded circuit, or a failing component. Simply replacing the fuse will lead to another failure.
- Confirm Your Diagnosis: Replacing the wrong part is a common and costly mistake. Be certain of your diagnosis before buying new components.
- Test the Repair Thoroughly: After the fix, verify that the original problem is gone and that no new issues have been created.
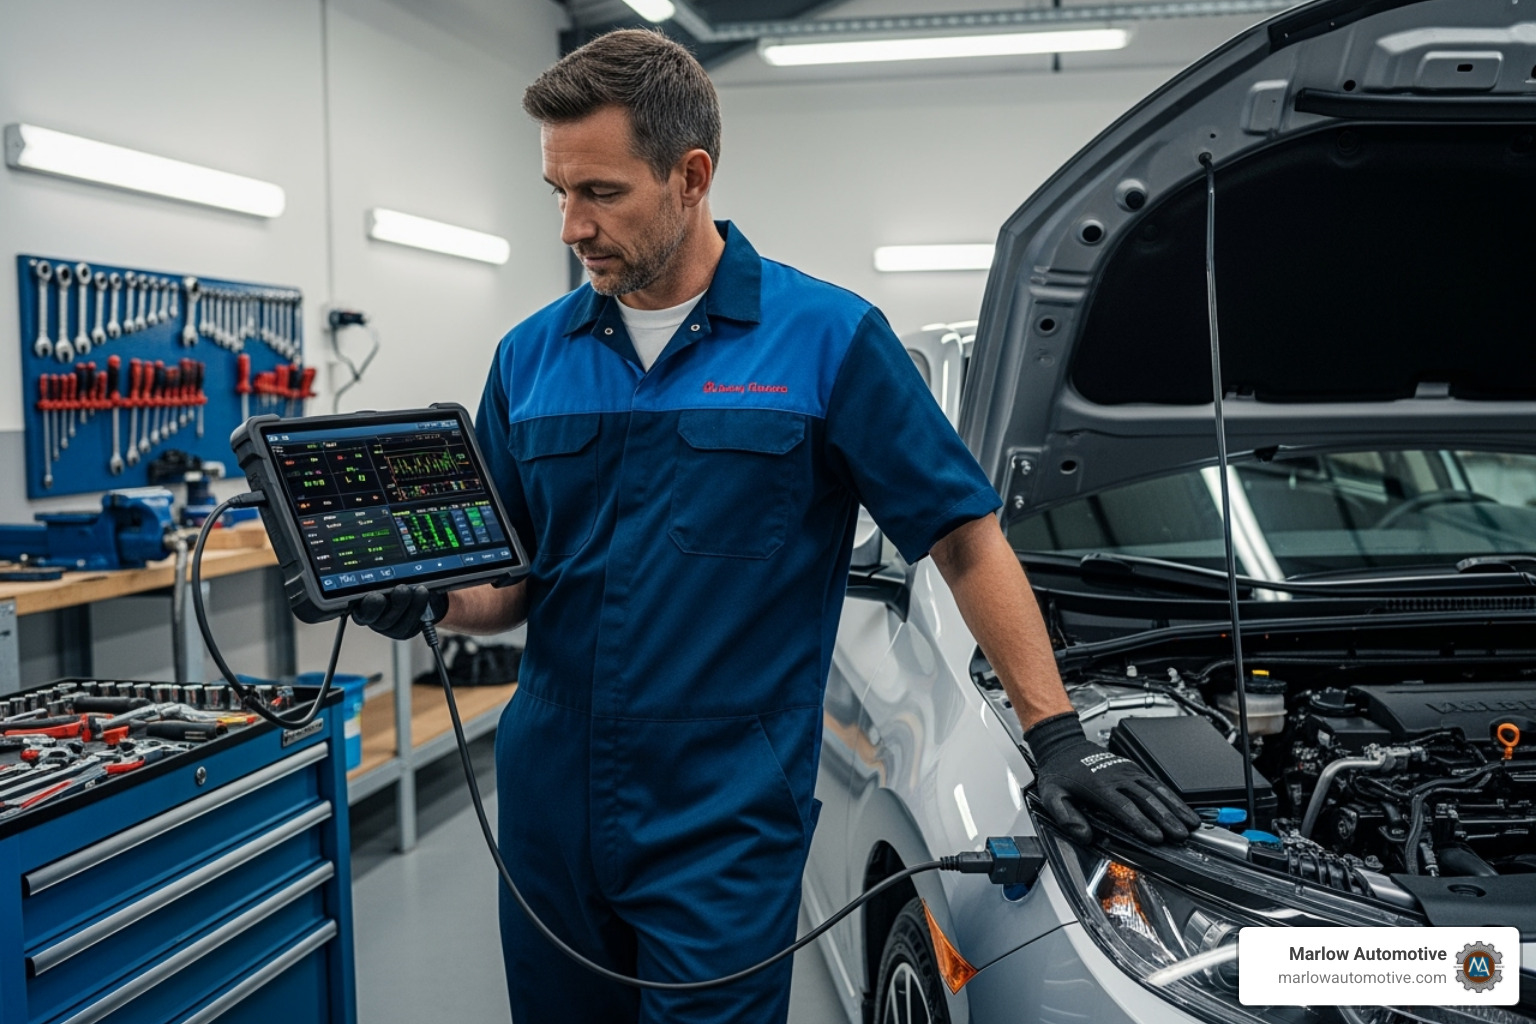
For complex computer system issues, specialized tools are often required. The team at Marlow Automotive has the advanced equipment for thorough computer system diagnostics. Knowing when a problem is beyond your tools or comfort level is key.
Identifying Common Electrical Faults
Most electrical faults fall into a few predictable categories. Understanding these common patterns helps you know where to start your electrical troubleshooting.
Open Circuits: The Broken Path
An open circuit is an interruption in the electrical path, preventing current from flowing. The component will be completely dead.
- Causes: Broken wires, loose connections, a faulty switch, a blown fuse, or a burned-out bulb filament.
- How to Find: Use a multimeter's continuity test. A reading of "OL" (Open Line) indicates a break in the circuit.
Short Circuits & Ground Faults: The Unwanted Detour
A short circuit occurs when electricity finds an unintended, low-resistance path. This causes excessive current flow, which is why fuses blow and circuit breakers trip—to prevent overheating and potential fires.
- Ground Faults: This is a specific type of short where a power wire accidentally touches the vehicle's metal frame (ground). This can cause strange, intermittent issues, like lights dimming when an accessory is used.
- Bad Grounds: Corroded or loose ground connections are a very common cause of seemingly random electrical problems and should be one of the first things you check.
Overamping & Outdated Wiring Issues
Overamping happens when a component draws more current than it's designed for, often due to an internal failure. This leads to repeatedly blown fuses and can cause wires to overheat.
In older vehicles, the wiring itself can be the problem. Look for:
- Frayed Insulation: Can cause short circuits.
- Corroded Terminals: Creates unwanted resistance and voltage drops.
- Loose Connections: Result from years of vibration and cause intermittent faults.
- Voltage Drops Under Load: Resistance in old wiring can starve components of the power they need, causing dim lights or slow-cranking starters.
When to Call a Professional Electrician
While DIY electrical troubleshooting is rewarding, knowing when to call an expert is smart. It ensures safety and a correct repair.

It's time to call a professional for:
- Intermittent problems that you can't replicate consistently. These "ghost" issues often require advanced diagnostic tools and experience to track down.
- Issues with computer modules like the ECU or BCM. Modern cars are complex networks, and diagnosing these systems requires specialized scan tools and software.
- Problems with safety systems like airbags, ABS, or stability control. A mistake here can have critical consequences, so this work should always be left to trained technicians.
- High-voltage hybrid or EV systems. These systems carry lethal voltages and require specific certification and safety equipment to work on.
- If you feel uncomfortable or unsure. Trust your gut. Your safety is more important than saving a few dollars on a diagnosis.
Even a common check engine light can have dozens of potential causes. Instead of guessing, let a professional find the root cause quickly. At Marlow Automotive, our technicians have the advanced diagnostic equipment and expertise to tackle the toughest electrical problems. More info about check engine light service.
Frequently Asked Questions about Electrical Troubleshooting
What's the difference between a bad battery and a bad alternator?
These two parts work together, but their failure symptoms are different.
- A bad battery fails to hold a charge. Symptoms include slow engine cranking, a clicking sound when turning the key, or a car that needs frequent jump-starts. A healthy battery should read about 12.6 volts with the engine off.
- A bad alternator fails to charge the battery while the engine is running. Symptoms include a battery warning light on the dash, flickering or dimming headlights while driving, and the car eventually dying as the battery drains.
What are the most common electrical mistakes DIYers make?
Even experienced DIYers can make mistakes during electrical troubleshooting. The most common are:
- Replacing parts without a diagnosis: Swapping a blown fuse doesn't fix the short circuit that caused it to blow.
- Taking safety shortcuts: Failing to disconnect the battery or working with wet hands is a serious risk.
- Using the wrong tools or methods: A simple test light can't diagnose a complex computer issue.
- Working without a wiring diagram: This is like navigating without a map and leads to wasted time and frustration.
Why do my headlights dim when I use the power windows?
This is a classic sign of a weak electrical system struggling to meet a sudden power demand. The power window motors draw a lot of current, exposing underlying issues. The most common causes are:
- A weak or failing battery.
- A struggling alternator that can't keep up with the load.
- A poor ground connection or high resistance from corrosion somewhere in the circuit.
While it may seem minor, this symptom often points to a problem that could leave you stranded. It's a good idea to have it professionally diagnosed.
Conclusion
You've now learned that electrical troubleshooting is a skill you can learn. By following a systematic process, taking proper safety precautions, and using the right tools, you can confidently tackle many common automotive electrical issues. The key is to be methodical: gather information, inspect, consult diagrams, and test logically to avoid the frustration of replacing the wrong parts.
Safety must always be your top priority. However, it's just as important to know your limits. Complex jobs involving intermittent faults, computer modules, safety systems (airbags, ABS), or high-voltage hybrid/EV systems are best left to trained professionals.
At Marlow Automotive in Plano, Texas, our certified technicians have the expertise and advanced tools to solve even the most challenging electrical problems. We provide expert care that exceeds dealership quality, use the best parts, and back our work with a comprehensive 2/24 warranty.
If you're facing electrical gremlins, a stubborn check engine light, or any issue that's beyond your comfort level, trust our team to get it right the first time. Schedule your auto electrical repair today!
Customer Testimonials
Service Areas


