


Flex Plate Replace in Plano, TX
Overview: This page explains flex plate replacement for automatic transmissions in Plano, TX, covering what the flex plate does, common failure causes, and typical symptoms. It outlines a technician's diagnostic steps, the replacement process (including transmission drop and component checks), and guidance on choosing OEM versus aftermarket parts. It also discusses realistic timeframes and costs, warranty and financing options, and scheduling tips, plus aftercare to protect the transaction and prevent future starter or transmission damage for Plano drivers. This service helps maintain drivability and long-term reliability.
Flex Plate Replace in Plano, TX
Replacing a damaged flex plate is a critical repair for automatic-transmission vehicles. In Plano, TX, where daily commuting, highway driving and occasional towing put extra stress on drivetrains, a failing flex plate can quickly turn into a safety and reliability issue. This page explains what the flex plate does, common causes of failure, how technicians diagnose problems, the replacement process (including transmission removal and part selection), typical timeframes and cost considerations, warranty and financing options, and practical aftercare—so you know exactly what to expect when a flex plate replacement is needed.
What the flex plate does and why it matters
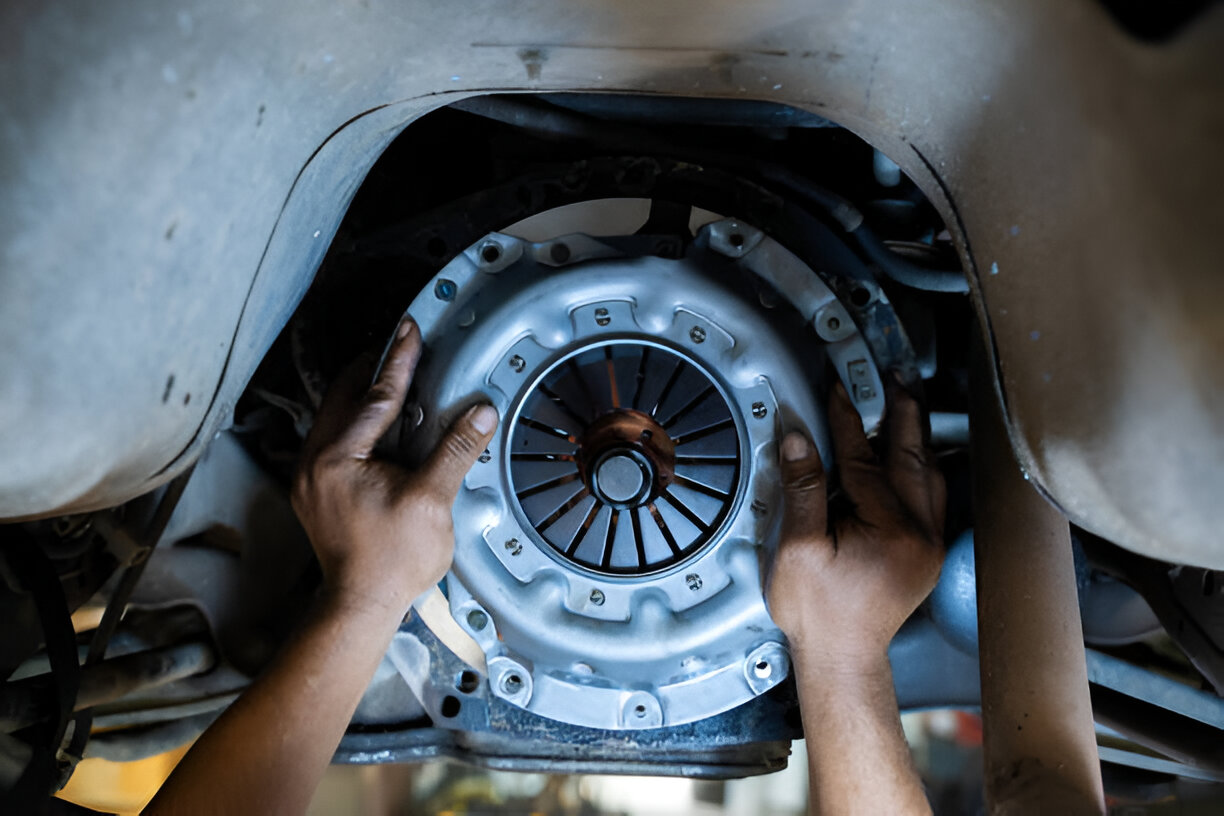
The flex plate connects the engine’s crankshaft to the transmission’s torque converter in automatic vehicles. It transfers engine power into the transmission while accommodating small misalignments and movement. Because it sits between the engine and transmission, the flex plate endures high torque, heat, and stress. If the plate cracks, warps, or the ring gear teeth strip, the starter may not engage reliably and drivability problems will follow. In Texas summers, higher operating temperatures combined with stop-and-go suburban driving around Plano can accelerate wear on related seals and components, increasing the chance a flex plate will need attention.
Common flex plate failure causes
- Wear on ring gear teeth from repeated starter misengagement or a weak starter
- Cracks or fractures from repeated stress, towing, or aggressive driving
- Warping or bending due to overheating, clutch slippage in older designs, or a torque converter issue
- Oil contamination from a leaking rear main seal that softens metal and accelerates corrosion
- Loose or sheared mounting bolts caused by improper torque, thread damage, or fatigue
Symptoms that indicate replacement is needed
Look for these clear, decision-stage symptoms:
- Clunking or banging between engine and transmission during acceleration or when shifting into gear
- Grinding noise at engine start when the starter tries to engage the ring gear
- Excessive vibration through the floorboard or seat at idle or under load
- Starter engagement problems where the starter spins but the engine does not turn over
- Transmission shudder or odd engagement if flex plate runout affects torque converter alignment
If you see any of these symptoms in Plano-area driving conditions—particularly after towing, a recent rear main seal leak, or starter replacement—timely replacement prevents further transmission or starter damage.
Diagnostic and inspection steps technicians use
Technicians follow a structured diagnostic path to confirm a flex plate issue:
- Review vehicle history for towing, recent starter or transmission work, or oil leaks.
- Road test to reproduce noise, vibration or engagement symptoms.
- Visual inspection with vehicle elevated to inspect the flex plate area for cracked metal, missing ring gear teeth, loose bolts, oil contamination, or abnormal wear.
- Remove starter and inspect engagement area and starter ring gear alignment.
- Measure flex plate runout (radial wobble) and check bolt torque and threads.
- Inspect related components: rear main seal, torque converter, pilot bearing, and transmission input shaft for damage.
- Provide a written diagnosis that explains findings and recommends repair options (replace flex plate only vs replace associated components).
Replacement procedure: what technicians do
A flex plate replacement is a mechanical job that often involves partial or full transmission separation. Typical steps:
- Safely elevate and support the vehicle. Drain fluids as needed and remove exhaust or crossmember components that block access.
- Disconnect the starter, torque converter bolts, and any harnesses or lines in the way.
- Support and lower the transmission (full transmission drop may be required on many models).
- Remove the old flex plate and inspect the crank flange, torque converter pilot, and rear main seal.
- Choose the replacement flex plate (see OEM vs aftermarket notes below).
- Install the new flex plate, using proper alignment marks and threadlocker where specified. Torque bolts to factory specifications in the recommended sequence.
- Reinstall the torque converter and transmission, refill fluids, and reattach the starter and other components.
- Perform static checks (starter engagement, clearances) and a road test to verify noise, vibration, and shifting are resolved.
OEM vs aftermarket part selection
- OEM (Original Equipment Manufacturer) flex plates match factory specifications and are generally the safest choice for long-term reliability, especially on European or high-performance vehicles.
- High-quality aftermarket options can be cost-effective and meet or exceed OEM specs for many domestic and Asian models; look for reputable brands with material and heat-treatment specifications.
- Considerations: correct bolt pattern and thickness, balanced vs unbalanced plates, warranty coverage, and whether related parts (bolts, pilot bearings, rear main seal) should be replaced at the same time.
Typical timeframes and cost considerations
- Timeframe: Expect a full-day to two-day repair for most passenger vehicles. Labor typically ranges from 4 to 10 hours depending on vehicle layout, transmission complexity, and whether the transmission must be fully removed.
- Parts cost: Flex plates vary by vehicle and brand—typical part costs range from economical aftermarket options to higher-cost OEM units. Additional parts (bolts, rear main seal, pilot bearing) add to the parts total.
- Labor cost: Labor is the primary driver of total cost due to transmission removal. Prices vary by shop rate and complexity.
- Replacement is more cost-effective when done promptly; delaying can result in starter damage, torque converter issues, or transmission harm that raise repair costs.
Warranty coverage and financing
Many reputable Plano-area repair shops back flex plate replacements with a parts-and-labor warranty—commonly a standard 12 month/12,000-mile warranty and in some cases extended coverage like a 2-year/24,000-mile warranty on qualifying repairs. Financing options are often available to spread payments for larger jobs. Confirm warranty length, what is covered (parts vs labor), and any maintenance requirements before proceeding.
Scheduling guidance and aftercare
- Plan for a full-day appointment or overnight stay for complex jobs; allow time for a thorough diagnosis and post-repair validation.
- Many shops in Plano offer shuttle service or after-hours drop-off to accommodate your schedule.
- Aftercare: monitor for residual noises and check for fluid leaks over the first few hundred miles. Avoid heavy towing or aggressive driving immediately after service to allow new components to seat properly. If vibration, noise, or starter engagement issues persist, return for a follow-up inspection—warranties typically cover qualifying defects.
Replacing a flex plate is a precision repair that restores reliable starter engagement, smooth power transfer, and overall drivability. In Plano’s driving environment—hot summers, commuter traffic, and occasional towing—addressing flex plate symptoms quickly prevents more costly transmission or starter damage and gets your vehicle back to dependable operation.
Customer Testimonials
Service Areas
